How to Set Up SOCKS4 Proxy Server
Setting up a SOCKS4 proxy server can significantly enhance your browsing experience by providing a layer of anonymity and security. Whether you’re aiming to safeguard your online activities or require a proxy server for other purposes, configuring a SOCKS4 proxy server can be an invaluable skill. This guide will walk you through the process step-by-step, ensuring you have a comprehensive understanding of each stage. Find the best proxies for linkedin.
To fully appreciate the benefits and functionalities of a SOCKS4 proxy server, it’s essential to delve into its foundational concepts and potential applications.
What is a SOCKS4 Proxy Server?
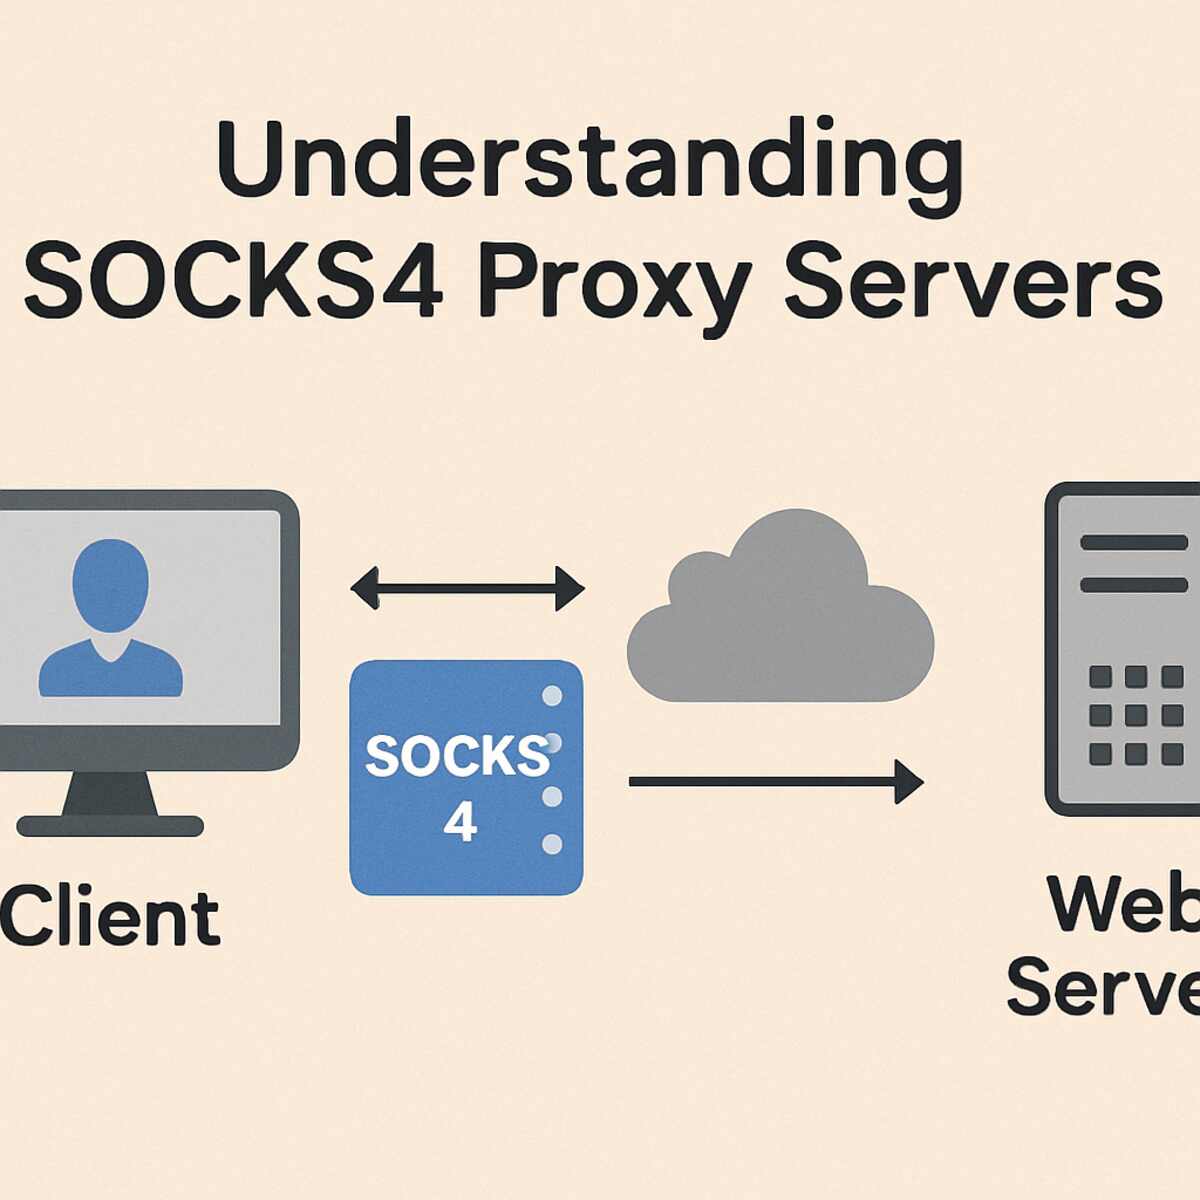
Before diving into the setup, it’s crucial to understand what a SOCKS4 proxy server is. SOCKS, an acronym for Socket Secure, is an internet protocol facilitating the routing of network packets between a client and server through a proxy server. SOCKS4, specifically, handles TCP connections and provides a basic level of security by masking the client’s IP address.
How SOCKS4 Works
A SOCKS4 proxy server operates by intercepting and routing the data packets from your device to the internet. This process ensures that your IP address remains concealed, as the server’s IP is used instead. Unlike its predecessor, SOCKS4 simplifies the transmission process by focusing solely on TCP, making it an efficient choice for many users.
SOCKS4 vs. SOCKS5
While SOCKS4 is effective, it’s important to note the differences between SOCKS4 and its successor, SOCKS5. SOCKS5 supports both TCP and UDP protocols and offers added features like authentication, which may be necessary for more advanced security needs. However, for basic anonymity and ease of setup, SOCKS4 remains a popular choice.
Historical Context
The development of SOCKS4 marked a significant step in proxy technology, providing a straightforward solution for users seeking privacy. Understanding its historical context helps appreciate its simplicity and efficiency, which continue to make it relevant in today’s digital landscape.
Benefits of Using a SOCKS4 Proxy Server
Utilizing a SOCKS4 proxy server offers several advantages that can be crucial depending on your online activities and privacy needs.
Anonymity
By rerouting your connection through a proxy, your IP address remains hidden from the destination server, enhancing your privacy. This anonymity can be particularly valuable when accessing sensitive information or using public Wi-Fi networks.
Bypassing Restrictions
SOCKS4 can help you circumvent regional restrictions or network blocks. This capability is beneficial for accessing geo-restricted content or overcoming censorship imposed by certain regions or institutions.
Improved Security
It adds an additional layer of security, safeguarding your data from potential interception. By masking your IP address, a SOCKS4 proxy server can reduce the risk of cyber attacks, providing peace of mind as you browse the web.
Cost-Effectiveness
Compared to other privacy tools, setting up a SOCKS4 proxy server is relatively inexpensive. It requires minimal hardware and software investment, making it an accessible option for individuals and small businesses seeking enhanced online security.
Setting Up Your SOCKS4 Proxy Server
To set up a SOCKS4 proxy server, you’ll need a dedicated server or a virtual private server (VPS) and some basic knowledge of command-line interfaces. Below is a detailed guide to help you through the process.
Step 1: Choose Your Server Environment
The first step in setting up a SOCKS4 proxy server is selecting the appropriate server environment. You can either use a dedicated server or opt for a VPS. The choice depends on your specific needs and budget considerations.
Dedicated Server vs. VPS
A dedicated server offers full control and resources, ideal for high-traffic needs, whereas a VPS provides a more affordable, scalable solution by sharing server resources. Consider your projected usage and budget when deciding between the two.
Assessing Your Needs
Determine the level of anonymity and security required for your activities. For basic needs, a VPS might suffice, but for more intensive use, a dedicated server could be necessary to ensure optimal performance and reliability.
Budget Considerations
Evaluate the costs associated with each option, including potential upgrades for increased bandwidth or storage. Balancing cost with the required functionality is key to selecting the right server environment.
Step 2: Install Necessary Software
Once you’ve chosen your server environment, the next step involves installing the necessary software. You will need to use a software package that can create a SOCKS4 proxy server. A popular choice is Dante, a versatile proxy server package.
Access the Server
Use SSH to access your server. For Linux systems, open the terminal and enter:
ssh username@server_ip_address
This connection step is essential for remotely managing and configuring your server.
Update the System
Ensure your system is up to date by running:
sudo apt-get update && sudo apt-get upgrade
Keeping your server software updated is crucial for security and performance, as updates often include patches and improvements.
Install Dante
Install the Dante server by executing:
sudo apt-get install dante-server
Dante is a robust option due to its flexibility and ease of use, making it suitable for a range of proxy server configurations.
Additional Software Considerations
Depending on your specific needs, you might also consider additional software for monitoring or enhancing your proxy server’s capabilities. Researching and understanding these tools can help optimize your server’s performance.
Step 3: Configure the Dante Server
Configuring the Dante server is a critical step. It involves setting up the configuration file to define the server’s behavior and access permissions.
Locate the Configuration File
The default location is usually /etc/danted.conf. Familiarizing yourself with file system navigation is beneficial for efficient management.
Edit the Configuration File
Use a text editor like nano to edit the file:
sudo nano /etc/danted.conf
This command opens the configuration file for editing, allowing you to customize settings based on your requirements.
Define the Settings
The configuration file should include settings such as the port number, internal and external interfaces, and access rules. Here is an example configuration:
logoutput: syslog internal: eth0 port = 1080 external: eth0 method: none client pass { from: 0.0.0.0/0 to: 0.0.0.0/0 log: error } pass { from: 0.0.0.0/0 to: 0.0.0.0/0 protocol: tcp log: error }
These settings dictate how the proxy server will handle incoming and outgoing traffic, ensuring both efficiency and security.
Save and Exit
Save the changes and exit the text editor. This step finalizes your configuration, preparing the server for operation.
Testing Configuration Changes
After saving, it’s advisable to validate your configuration by checking the syntax and ensuring no errors are present. This step can prevent potential issues when starting the server.
Step 4: Start and Test the Proxy Server
After configuring the server, the next step is to start the Dante server and test the proxy.
Start the Dante Server
Use the following command:
sudo systemctl start danted
This command initiates the proxy server, making it active and ready to handle requests.
Enable the Server at Boot
Ensure the server starts on boot:
sudo systemctl enable danted
This setting ensures that your proxy server automatically restarts with your server, maintaining continuous operation.
Test the Proxy
To test the proxy, configure your browser or application to use the SOCKS4 proxy by entering your server’s IP address and the port number specified in the configuration file (e.g., 1080). Testing confirms that the proxy is functioning correctly and effectively routing your internet traffic.
Monitoring Performance
Post-setup, it’s beneficial to monitor the server’s performance and traffic. Tools for logging and analytics can help optimize and troubleshoot the proxy server’s operations.
Troubleshooting Common Issues
Even with careful setup, issues can arise. Here are some common problems and their solutions to help you maintain a functional SOCKS4 proxy server.
Connection Refusal
If you encounter a “connection refused” error, verify that the Dante service is running and properly configured. Check firewall settings to ensure the port is open.
Verifying Service Status
Use commands like sudo systemctl status danted to check if the service is active. This basic check can identify whether the service is running correctly.
Firewall Configuration
Ensure that your firewall settings allow traffic through the designated port (e.g., 1080). Misconfigured firewalls are a common cause of connection issues.
Network Troubleshooting
Evaluate your network settings and connectivity. Network issues can often mimic server problems, so a comprehensive check is recommended.
Authentication Failure
Ensure that the method setting in the configuration file is correctly defined. For basic setups, method: none is often used, implying no authentication.
Reviewing Configuration
Double-check your configuration file for syntax errors or misconfigurations. Even small mistakes can lead to authentication failures.
Advanced Authentication Options
If additional security is necessary, explore authentication options within Dante, such as username/password or IP-based restrictions.
Performance Issues
If you notice slow performance, consider evaluating your server’s resources and network speed. Upgrading your server plan might be necessary if resources are limited.
Resource Allocation
Ensure your server has adequate CPU, RAM, and bandwidth to handle your expected load. Resource shortages can significantly impact performance.
Network Speed
Test your network connection for speed and stability. Network issues can bottleneck your proxy server’s performance, affecting user experience.
Optimization Techniques
Explore optimization techniques, such as caching or load balancing, to improve server efficiency and response times.
Conclusion
Setting up a SOCKS4 proxy server can be a rewarding endeavor, providing anonymity, security, and flexibility in your browsing activities. By following this step-by-step guide, you should now have a robust SOCKS4 proxy server up and running. Remember, while proxy servers offer anonymity, they should be used responsibly and ethically, respecting legal and privacy considerations.
Ethical Use of Proxy Servers
With your SOCKS4 proxy server operational, you’re now equipped to browse the internet with an added layer of security and anonymity. Whether you’re bypassing restrictions or enhancing your privacy, the power is now in your hands. Always consider the ethical implications of your proxy server use, ensuring compliance with legal standards and respect for privacy.
Maintaining Your Proxy Server
Regular maintenance and updates are essential for the continued security and performance of your proxy server. Stay informed about software updates and security patches to protect your setup from vulnerabilities.
Exploring Advanced Configurations
Once comfortable with the basics, consider exploring advanced configurations and features, such as encryption or load balancing, to further enhance your server’s capabilities. These enhancements can provide even greater flexibility and security, accommodating a wider range of needs.